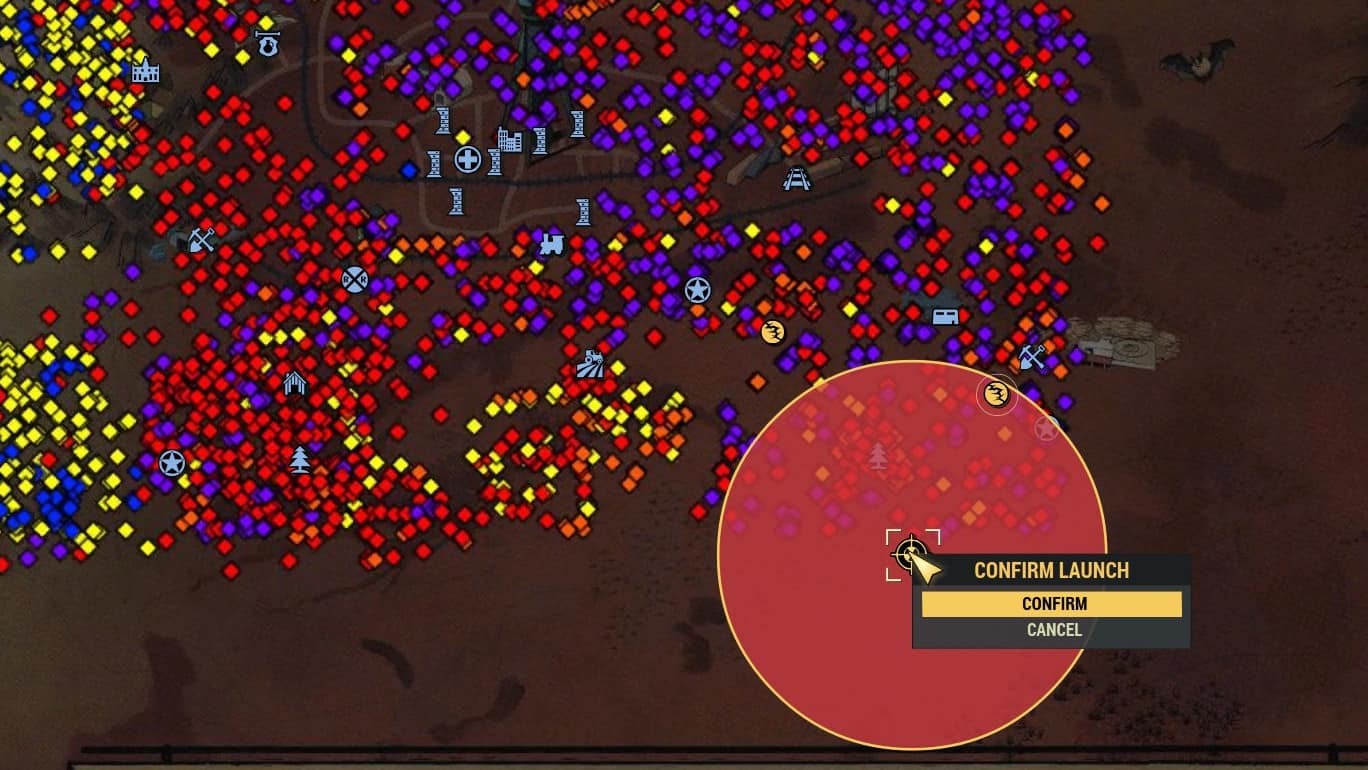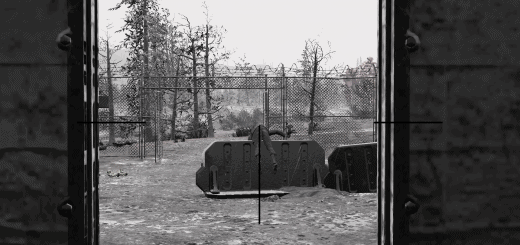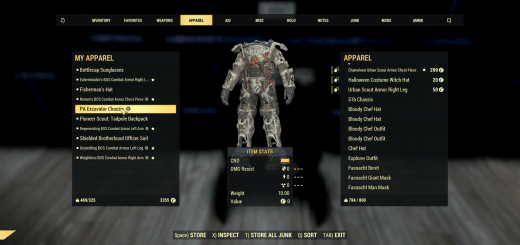
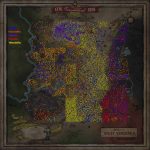
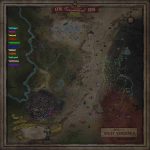
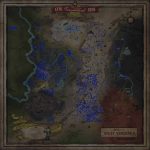
Mappalachia for Targeting Computer
Installation
1. Extract the contents from the zipped file to C:\Program Files (x86)\Bethesda.net Launcher\games\Fallout76\Data
2. Open Fallout76Custom.ini located at C:\Users\Your Name\Documents\My Games\Fallout 76
3. Add the name of the extracted file (MappalachiaTC.ba2), including the extension (.ba2), (and a comma before it if you already have other mods installed) at the end of the line with sResourceArchive2List (You can find the line by pressing Ctrl+F and typing sResourceArchive2List)
Example: sResourceArchive2List=OtherMods.ba2,MappalachiaTC.ba2
4. Save the changes to Fallout76Custom.ini
If you don’t have Fallout76Custom.ini, copy Fallout76.ini and rename the copy to Fallout76Custom.ini

