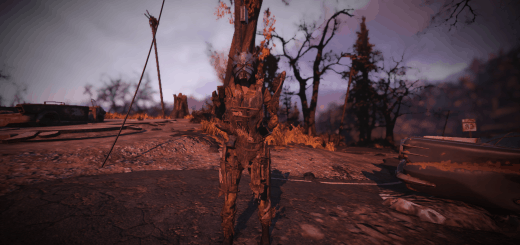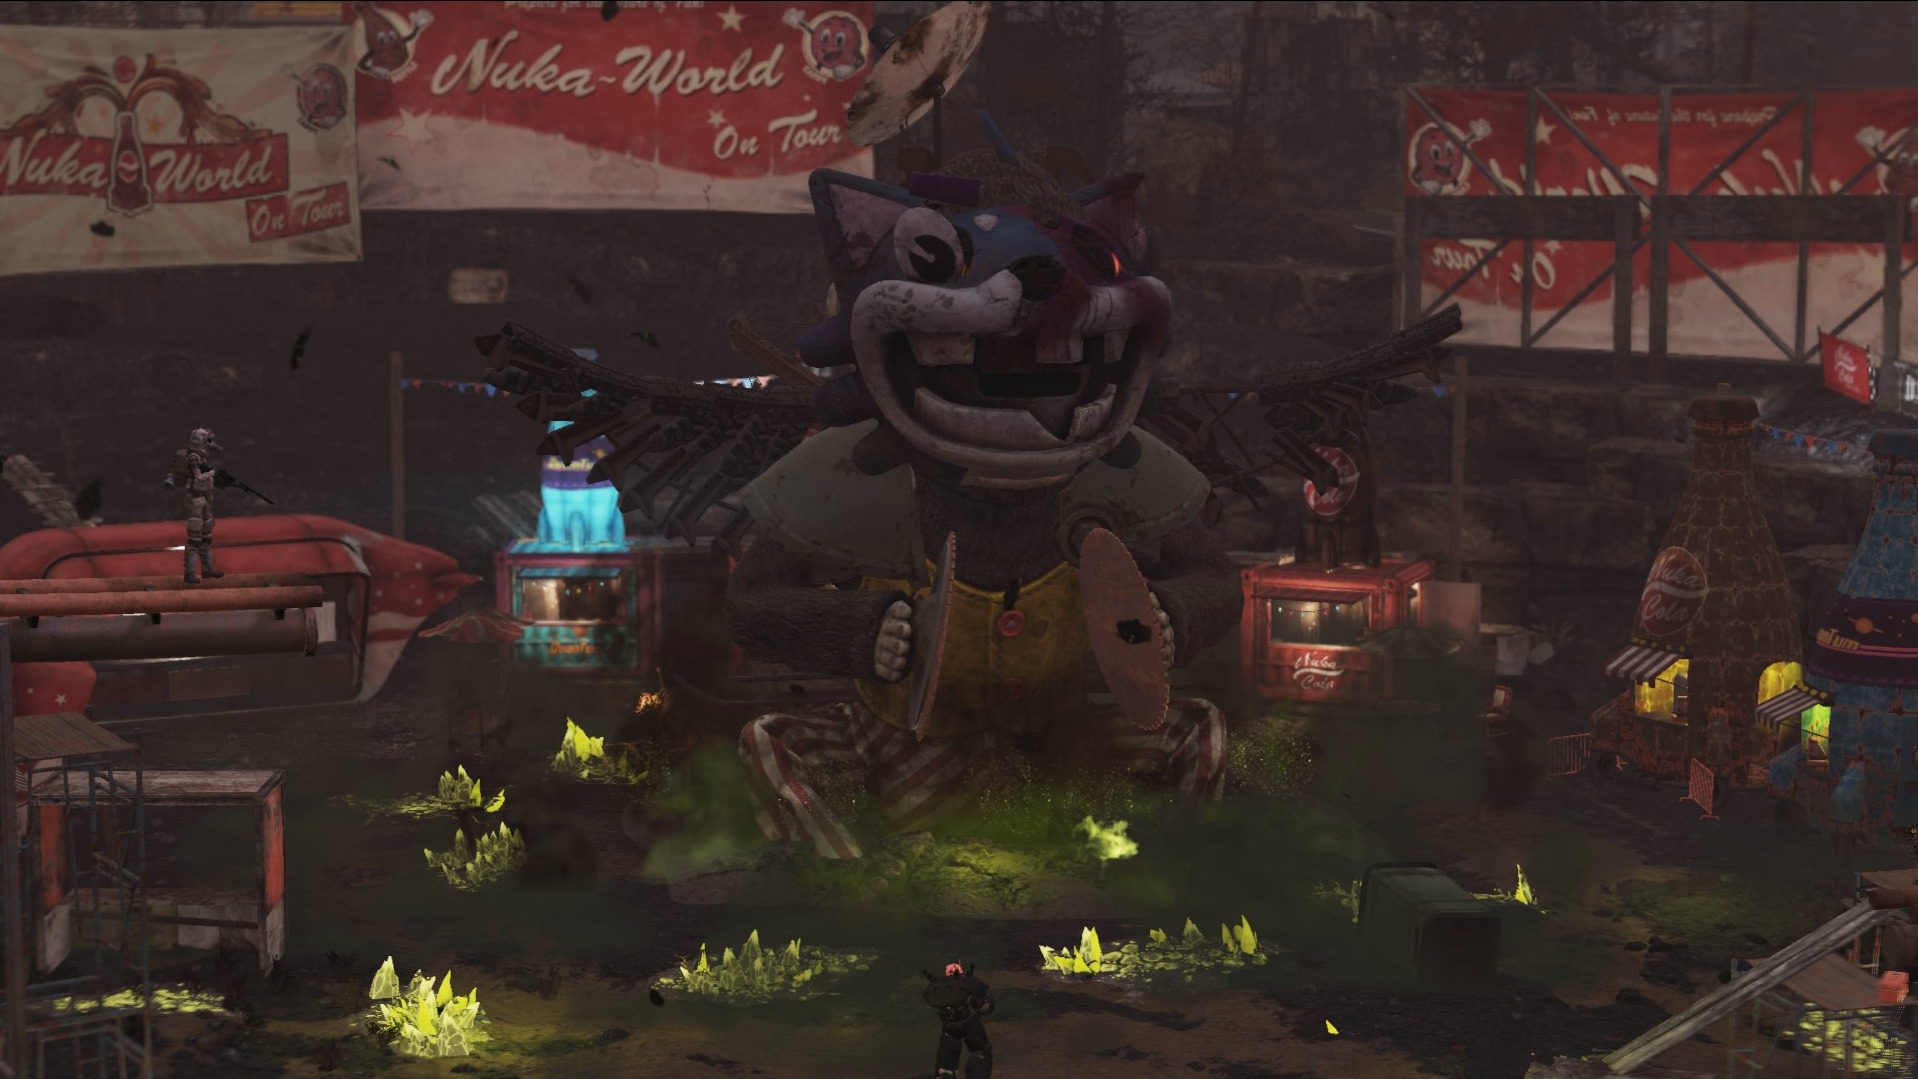
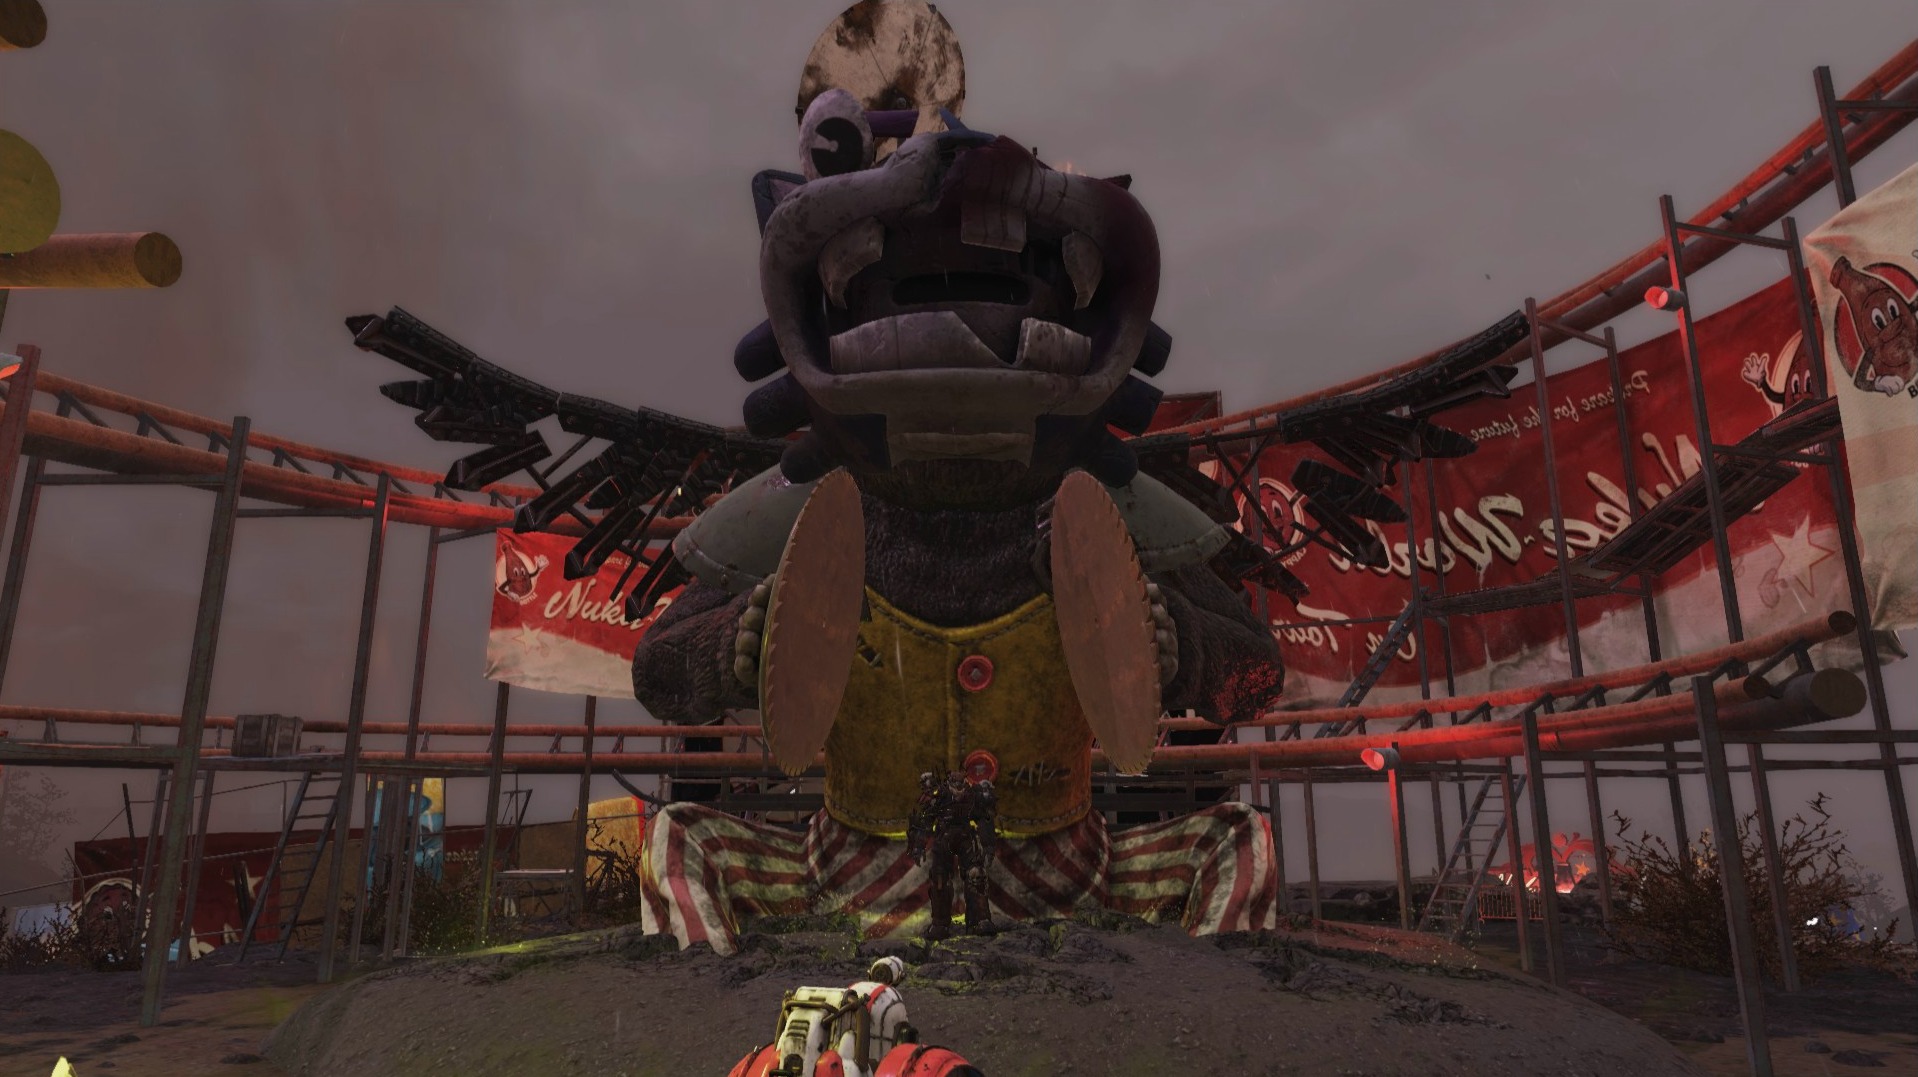
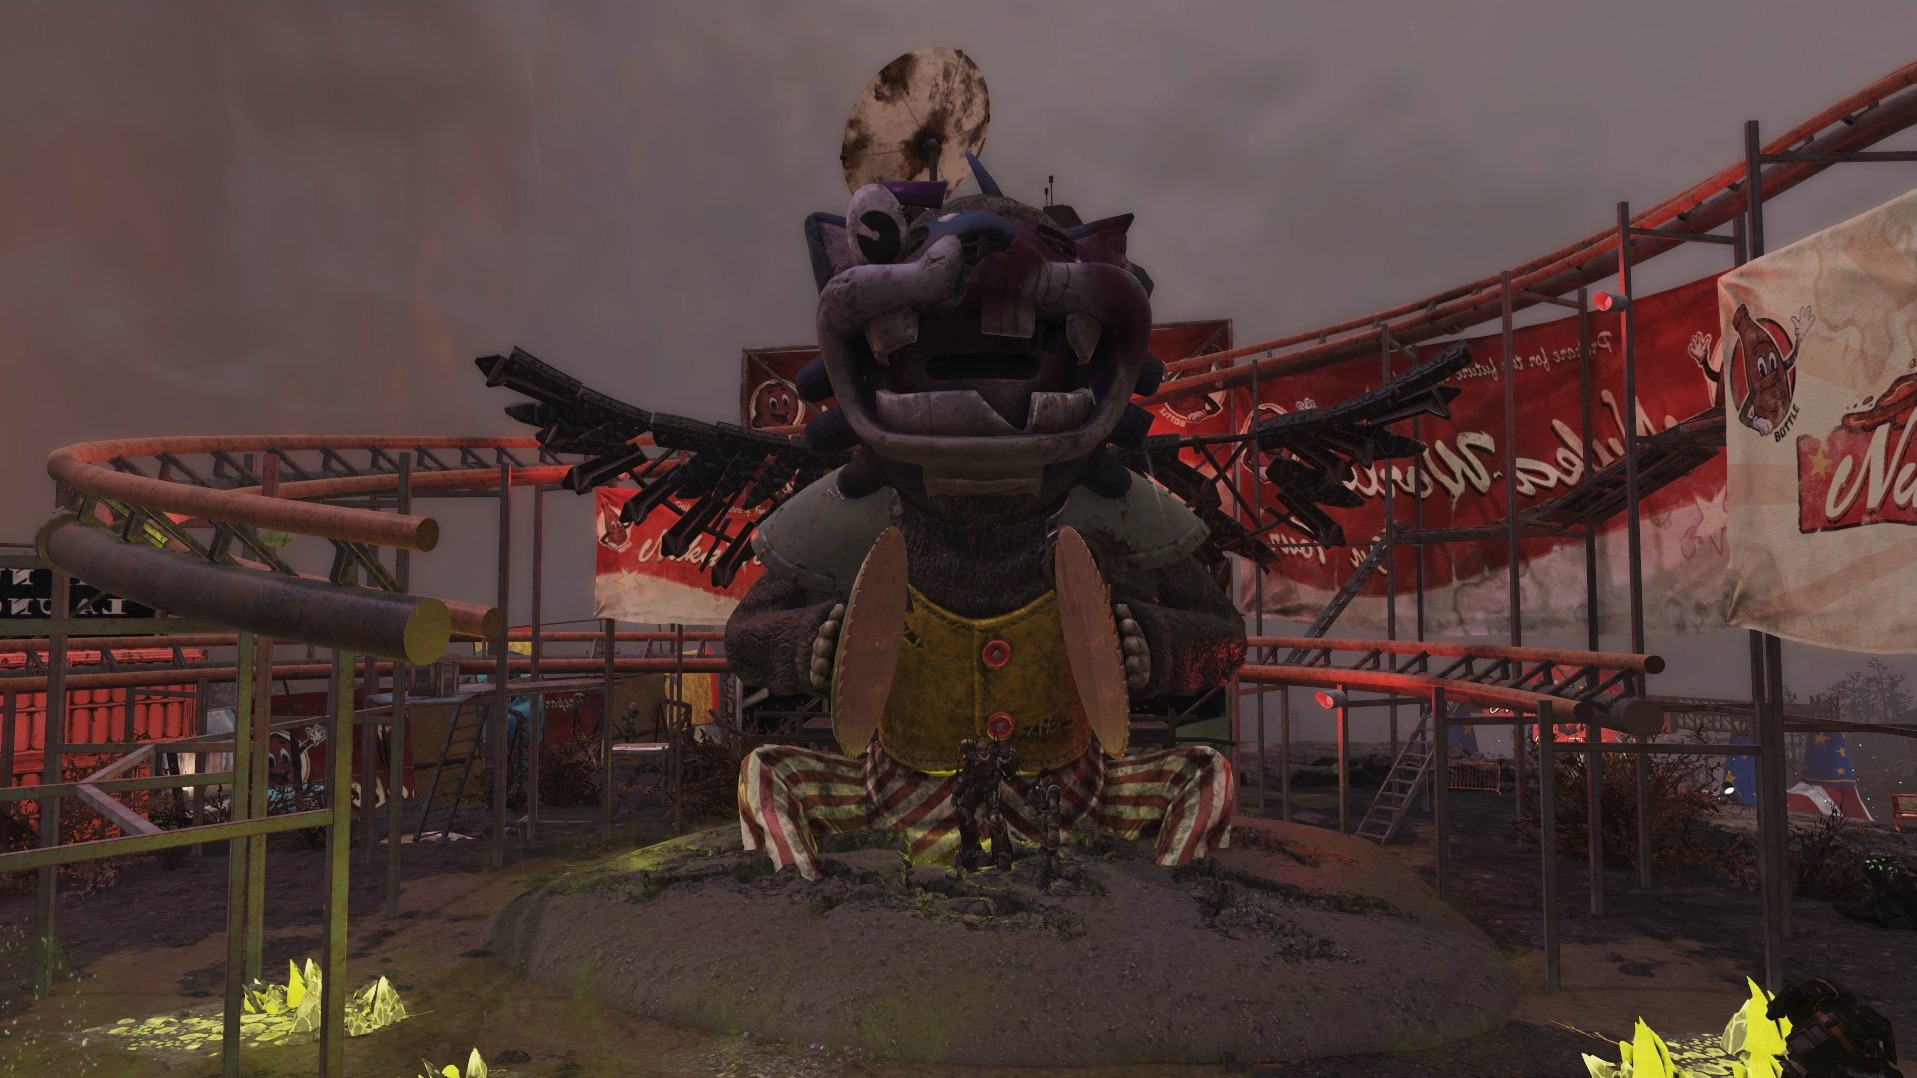
Junkyard Bash – Ultracite Abomination Replacer
ITS RAIDER ART!
Well, erm…. ok. How do I explain this mod….. fuck it. This mod replaces the “Ultracite Abomination” (The Nuka World Boss) with a… um…. “Raider Art Project” yeah, lets go with that.
Known Limitations and issue’s:
1} The model can get glitchy depending on the camera angle.
2} Due to the increased .nif size the mod can be somewhat resource intensive.
3} The Hit Boxes dosnt really work? Its best to use VATS when fighting this…. thing.
4} Due to the lack of animation tools for 76, the boss is static
5} The boss will sometimes fail to play any sound
6} The infernal din of the Cymbals will often deafen headphone users. /s/
Installation guide:
Step 1: Remove MonkeyBoss.ba2 from its .Zip and place inside your Fallout 76 Data Folder.
Generic File Path: [Steam Install Location]\steamapps\common\Fallout76\Data
Step 2: Navigate to the Fallout 76 Folder located within the My Documents folder.
Example File Path: C:\Users\[username]\Documents\My Games\Fallout 76
Step 3: If you have not already, create a new file called: Fallout76Custom.ini
Step 4: Open Fallout76Custom.ini using a text editor and add the following line:
[Archive] sResourceArchive2List= MonkeyBoss.ba2Step 5: Click Save
Step 6: Boot Up Fallout 76