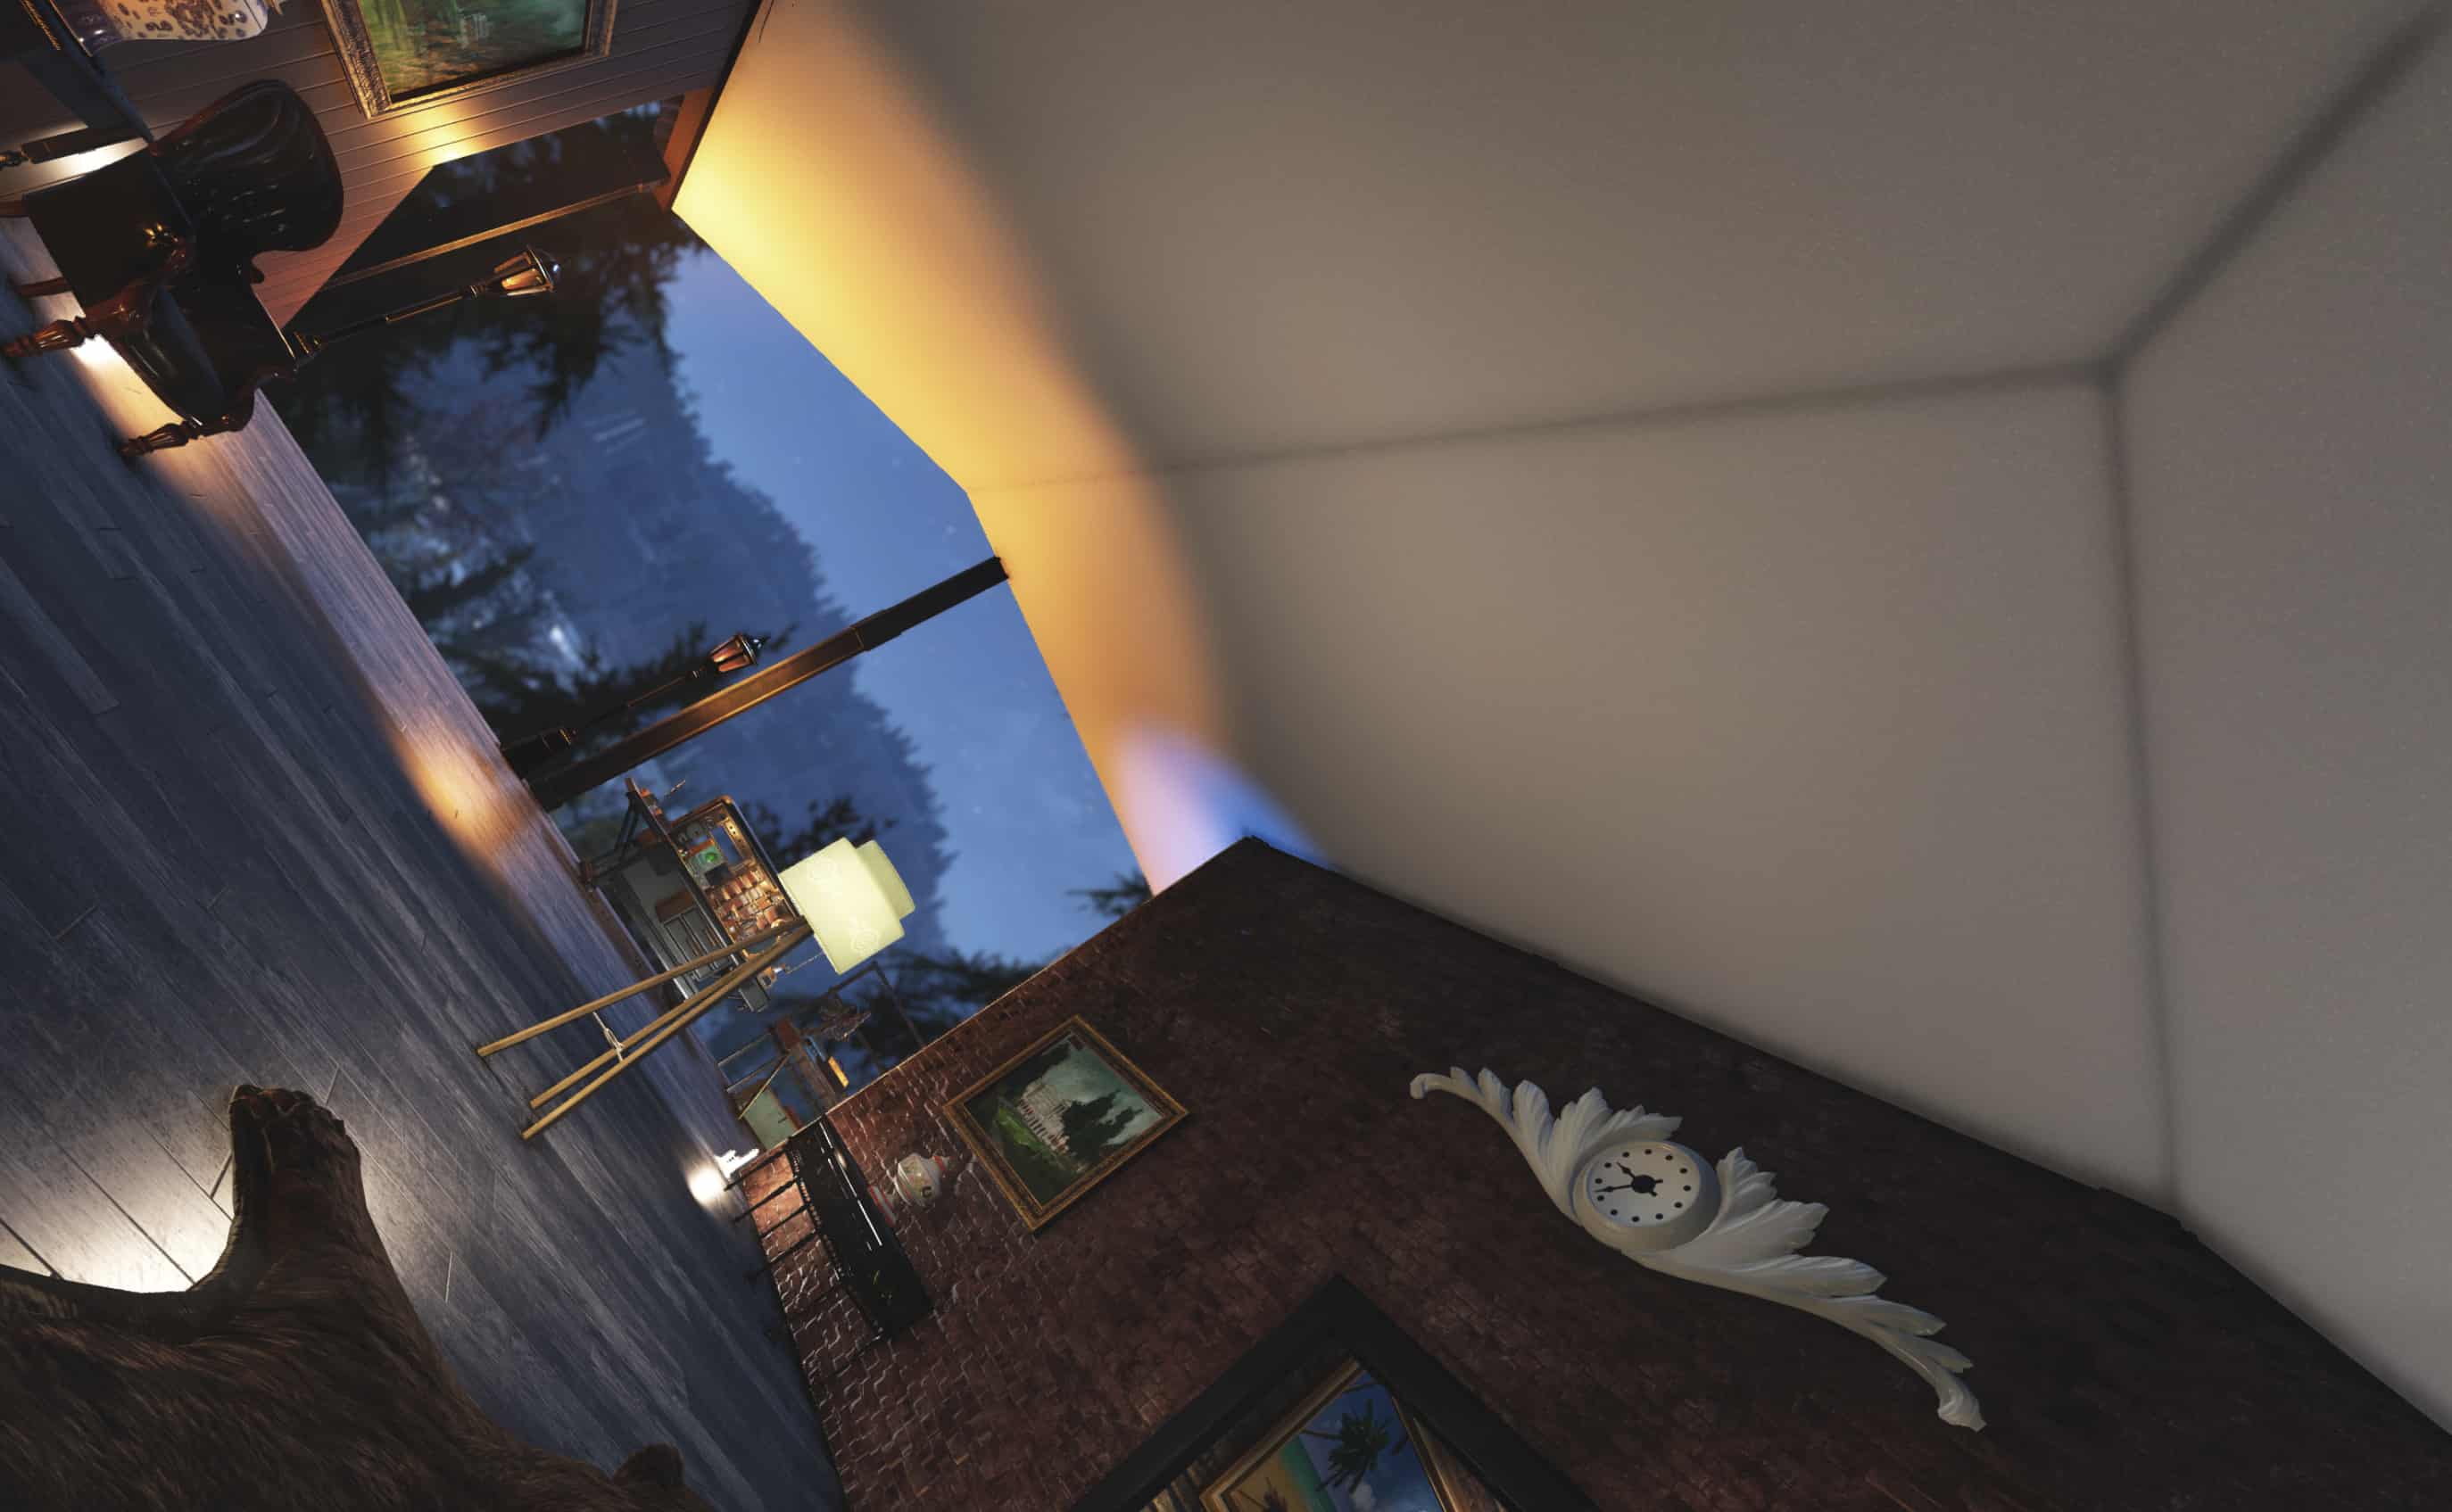

Clean Ceilings Variety
Adds a layer of popcorn/paint/plaster to the underside of all standard roofs and floors. Simple as that. No more bare wooden planks, just nice and clean ceilings!
Version 1.0 contents
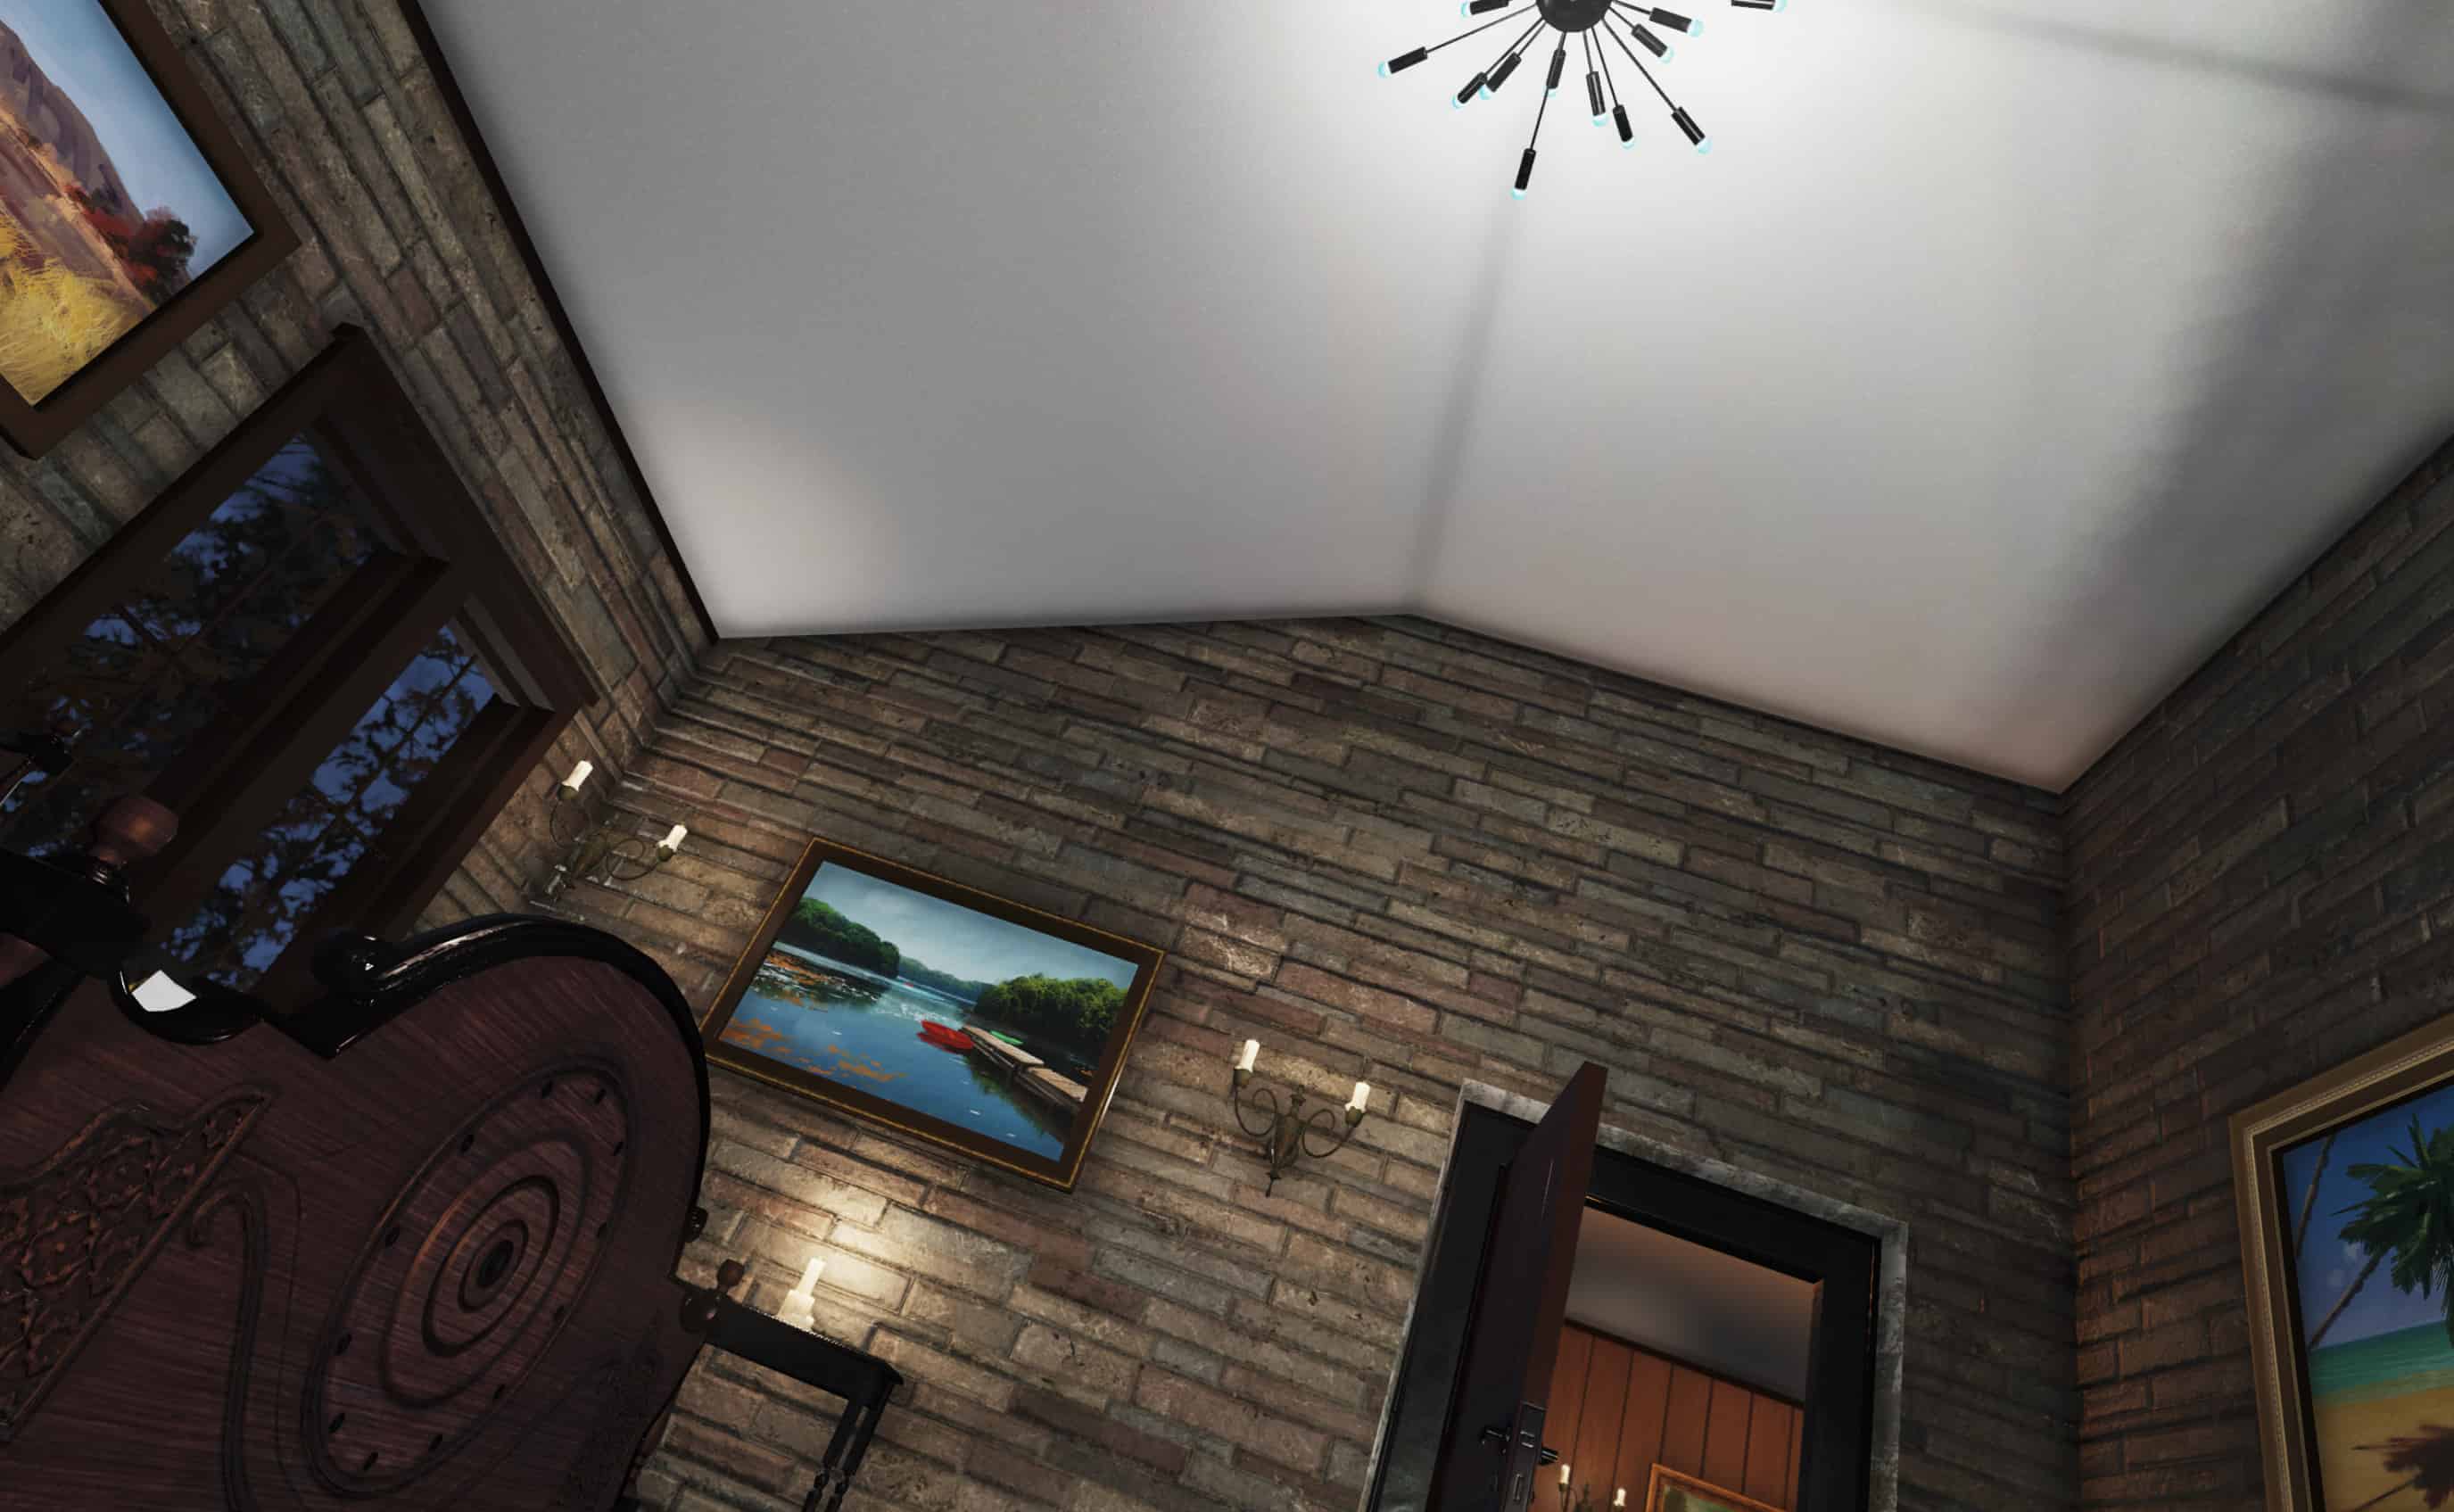
Popcorn white roof ceiling – features a more pronounced texture
White painted roof ceiling – less pronounced texture, a little bit grainy though
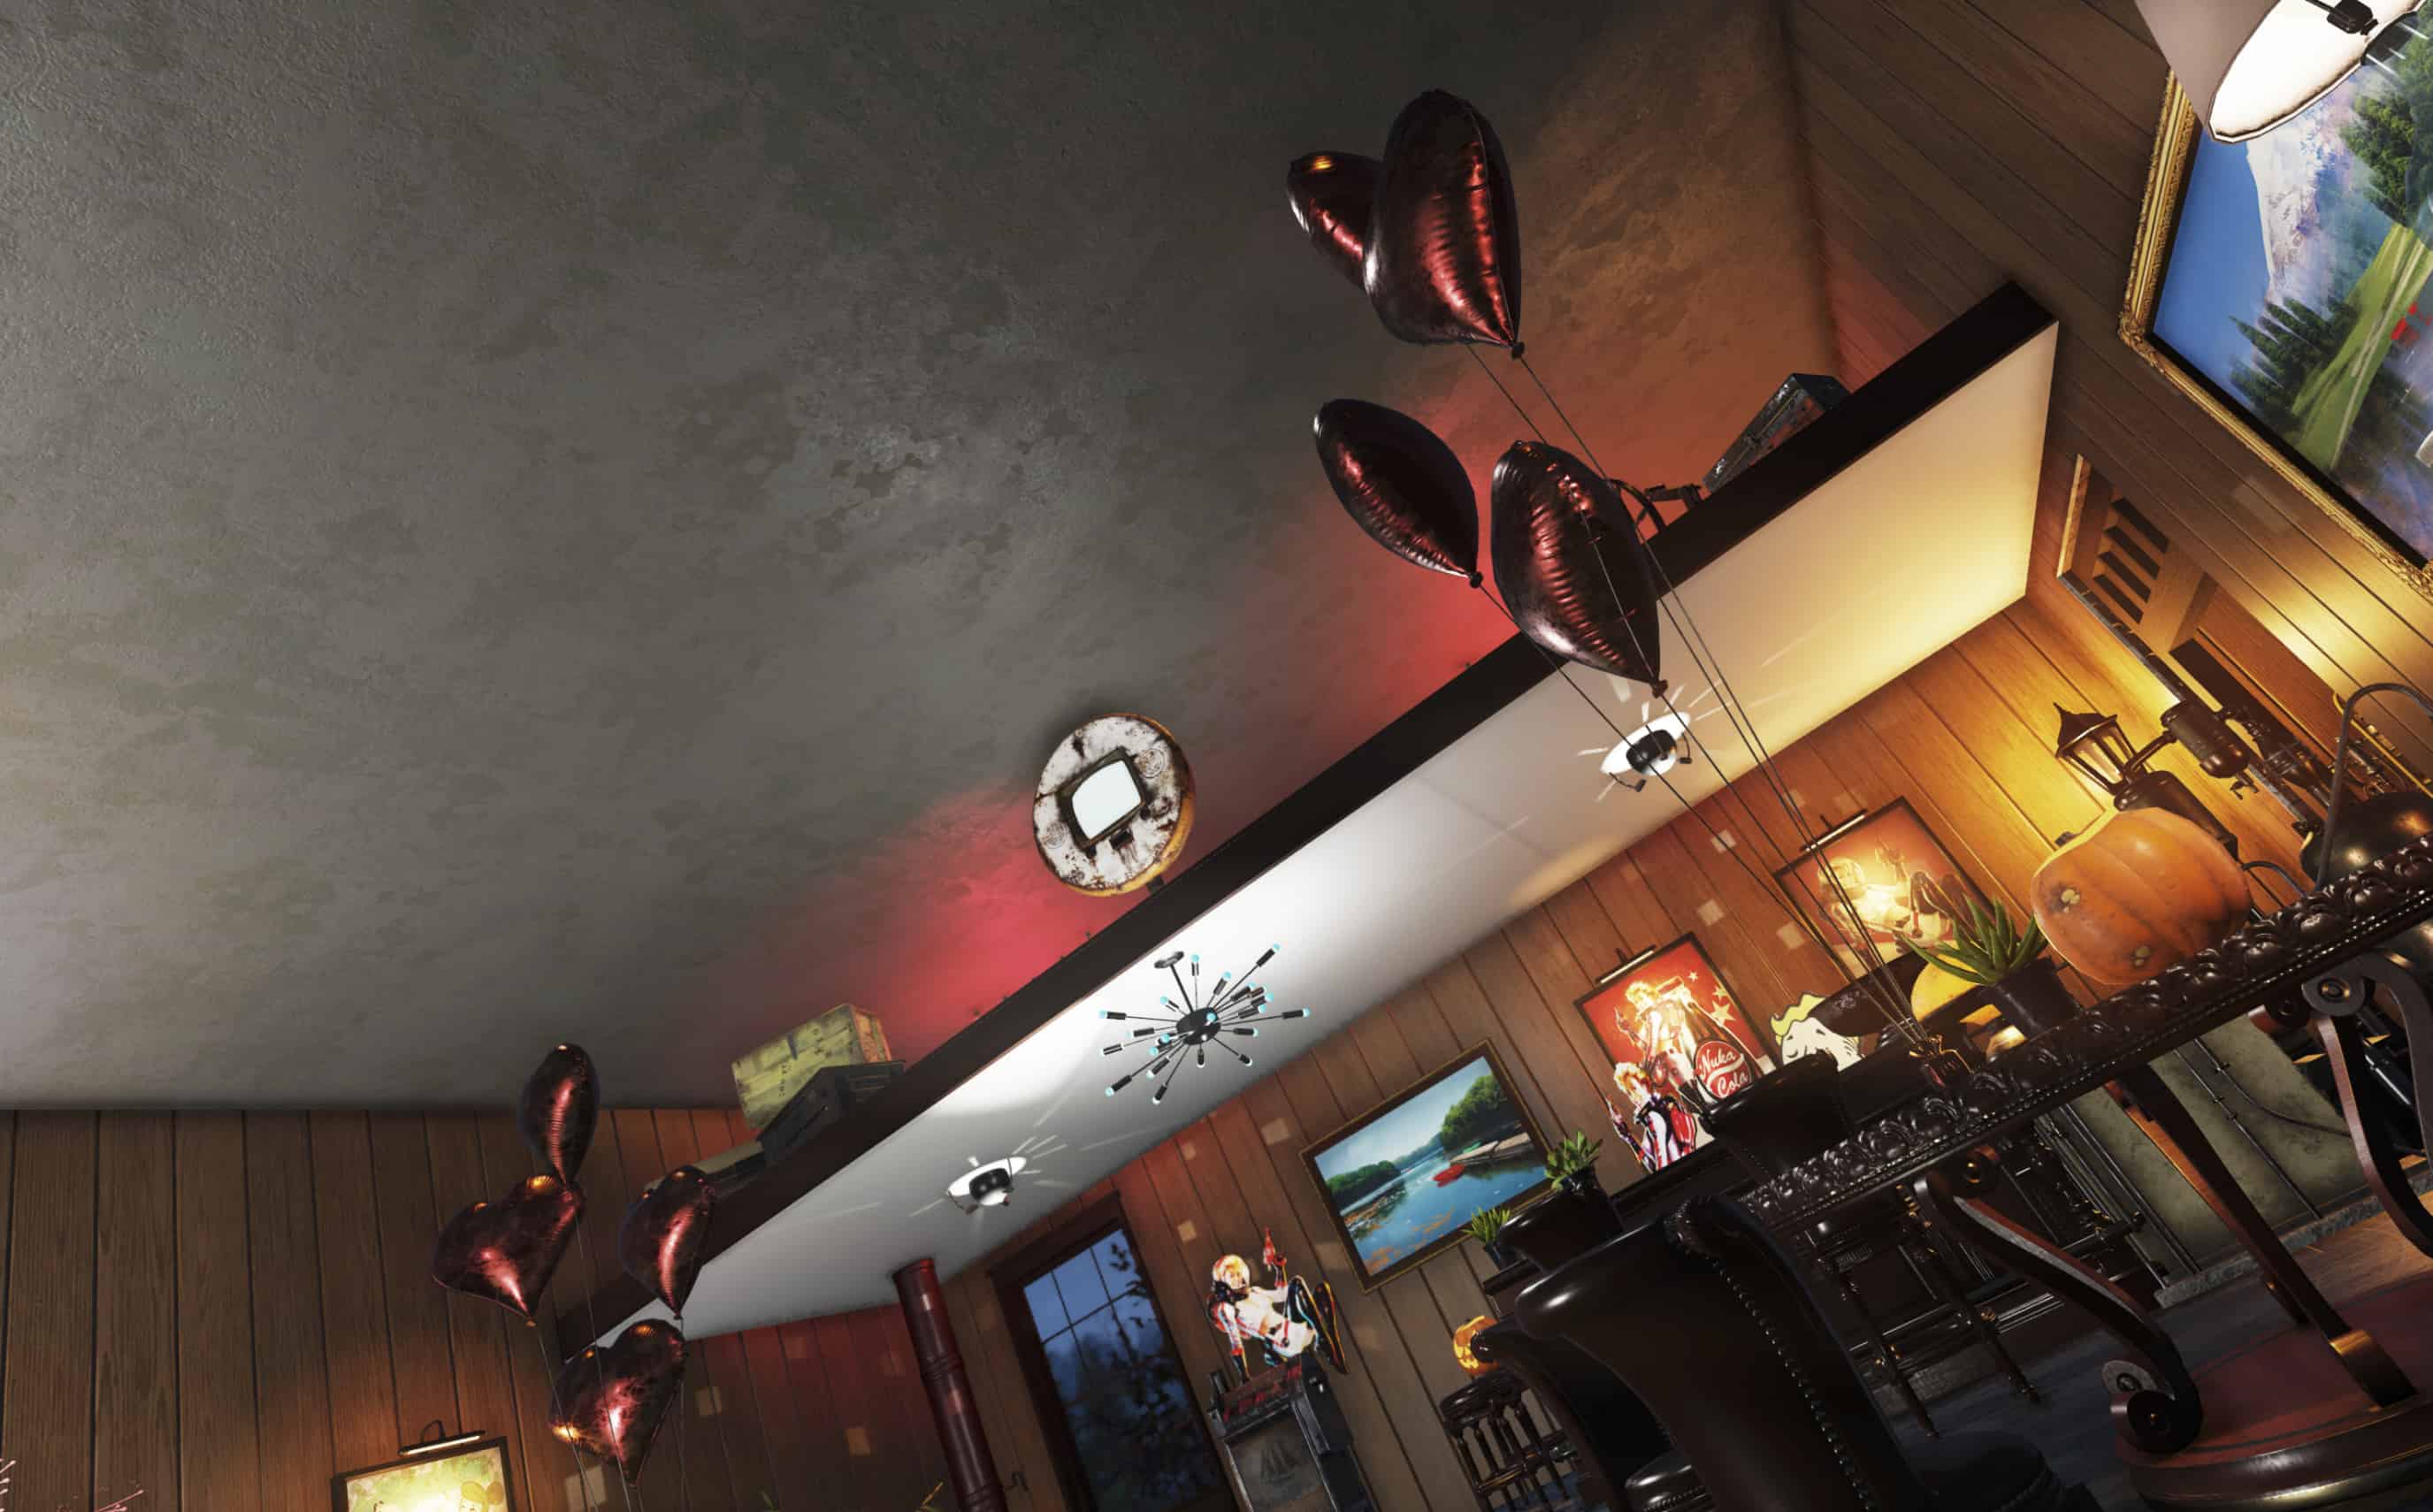
Popcorn white floor ceiling
White painted floor ceiling
Plaster floor ceiling
Installation
1. Extract the ba2 file from the archive you’ve downloaded to your Fallout76/Data folder.
2. Check whether you’ve got the Fallout76Custom.ini file under Documents/My Games/Fallout 76 folder, and if not, create it.
2a. If you’ve just created the .ini file, you need to open it and input this string in it: [Archive]
3. Find sResourceArchive2List = line under the [Archive] section of your Fallout76Custom.ini or type it down if there is no such line.
4. If you’ve downloaded one of the Roof Ceilings texture packs, add ” ,CeilingM.ba2, CeilingT.ba2″ to the end of the sResourceArchive2List line.
4a. If you’ve downloaded one of the Floor Ceilings texture packs, add ” ,CeilingFM.ba2, CeilingFT.ba2″ to the end of the sResourceArchive2List line.
Note: Only you will see this retexture/mesh in your game, other players will still see ceilings they have in their game, so it’s just for your own aesthetic pleasure and screenshotting purposes.